
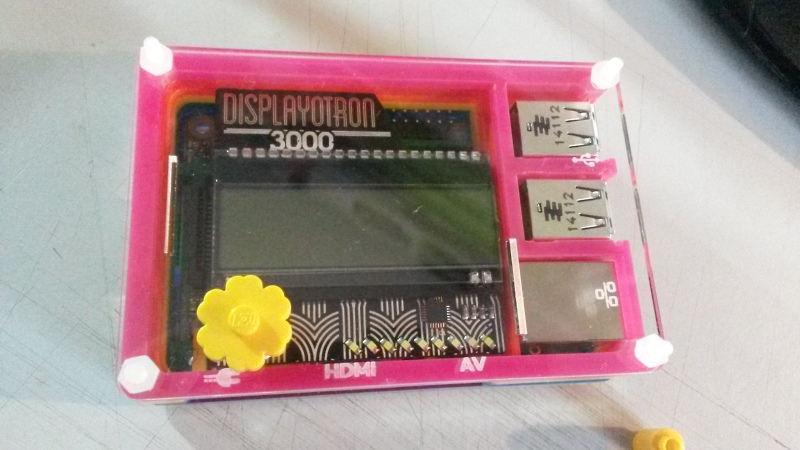
1. This easy Raspberry Pi case mod for the Pibow range of cases from Pimoroni gives access to the joystick button on the Display-o-Tron 3000 using Lego.
It uses a cut-up round 1x1 Lego plate to provide a mount for a button cap for the 5-way joystick on the DoT3K.

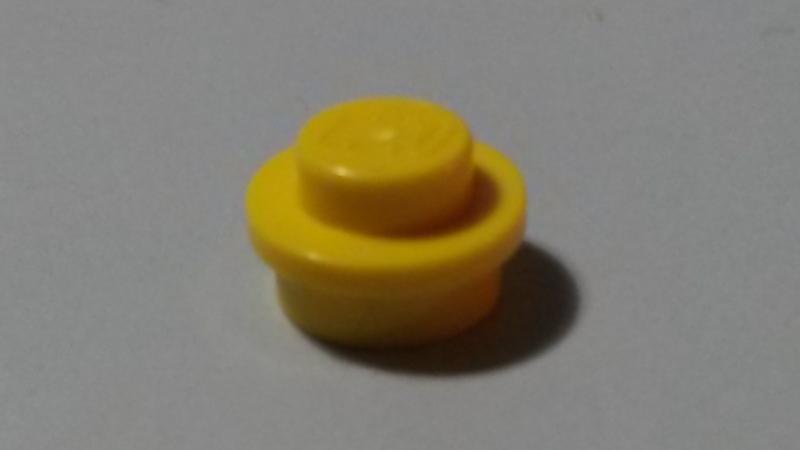
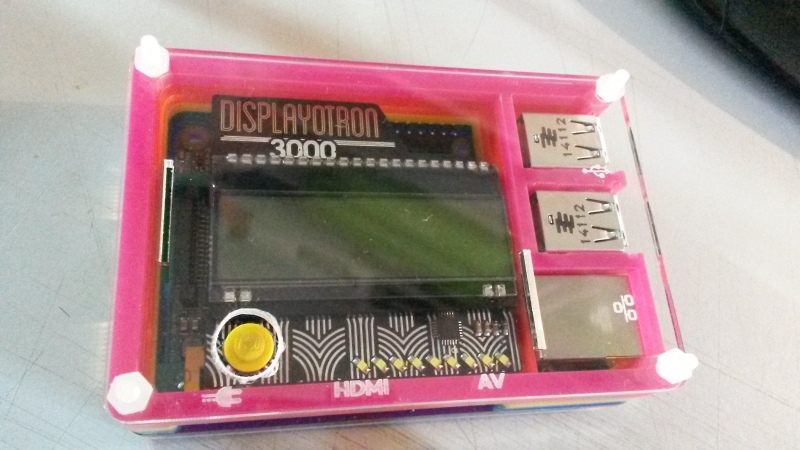
2. With the basic third-height stud in place, you can attach various full-height round pieces as a button cap. Here I'm using a 1x1 round open stud.
3. And here's quite a nice decorative brick that works well; 2x2 rounded flower solid stud.
The mod itself is simple; just mount up the Display-o-Tron 3000 inside the Pibow. I used 8 of the supplied 9 layers.
Using only 8 layers means you have less angle of travel to activate the joystick directions. If you use all 9 layers you will need a bigger hole, which may get dangerously close to the edge of the acrylic, and quite possibly cause the acrylic to break.

4. I marked the top layer with a permanent felt-tip immediately above the DoT3K's joystick. Then I started drilling, starting with the smallest bit available to me, and gradually working up to larger sizes. If you start with a large bit, I expect you will damage the acrylic.
I drilled an 11mm hole, but you may get by with only 10mm or need 12mm, depending on how accurate you were in marking the centre of the joystick and your accuracy in drilling.
Hopefully it should be obvious that you should remove the top layer and use some kind of workbench clamp, or even something as simple as a couple of bulldog clips and a plank of wood, before drilling. Nobody's daft enough to drill directly into their Display-o-Tron or Raspberry Pi circuitboard, are they?
5. Here's our button cap mount. Piece 4073, 1x1 round straight-side plate.
Even though it's only a third-height piece, it is still too tall to operate the DoT3K's tiny joystick. We'll need to trim it down.

6. Using a craft knife or similar, cut immediately below the flange.

7. It helps to spin the brick around and gradually score a line, before putting pressure behind the knife to slice it.
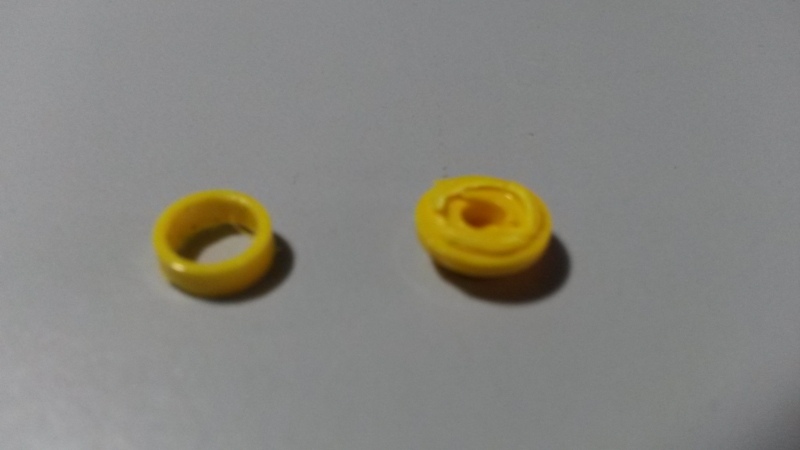
8. You can discard the ring. Try mounting the upper section of the brick onto the DoT3K joystick; use the joystick.py test program from the DoT3K GitHub to check everything works.
Now for the gluing. You need only a teeny, tiny dab of gel superglue, about as much as you can hold on the end of a cocktail stick, and it must go inside the recessed hole and not around the edges. If you don't have gel superglue, you can use 2-part epoxy glue but allow the mix to dry for 10-15 minutes, so that it becomes gel-like before applying.
Why gel? Well, you're gluing upside-down and you don't want the glue running down the joystick and gluing the joystick.
9. My top tip: Use a cocktail stick to burst any air bubbles in the gel once it's in the little hole, and wipe any excess gel away with a cloth.
Leave it to dry. Check every 15 minutes for the first hour or so, to ensure that the joystick can still move. It'll be no fun if you come back in 6 hours to find you've glued your joystick into a fixed position.

10. My five-year-old son Jacob constructed this super-joystick to fit onto the Lego stud.
Public Domain - Andrew Oakley - 2014-11-02